
如何使用 Web App 的 Managed Identity 存取 Azure Open AI 的服務?
Why?
因為用 Managed Identity 即可以不用使用 KEY 來存取 Azure Open AI, 不使用 KEY 也就不用煩惱要如何保護及定時更換 KEY.
How?
3 Stpes:
Step 1. 設定 Web App 使用 Managed Identity
Step 2. 設定 Web App 的 Managed Identity 可以存取 特定的 Azure Open AI 服務
Step 3. 程式碼中使用 Managed Identity 存取特定的 Azure Open AI 服務
詳細的說明:
Step 1. 設定 Web App 使用 Managed Identity
建議先使用 System assigned identity , 設定方式如下:
Web App -> Identity -> 啟用 System assigned identity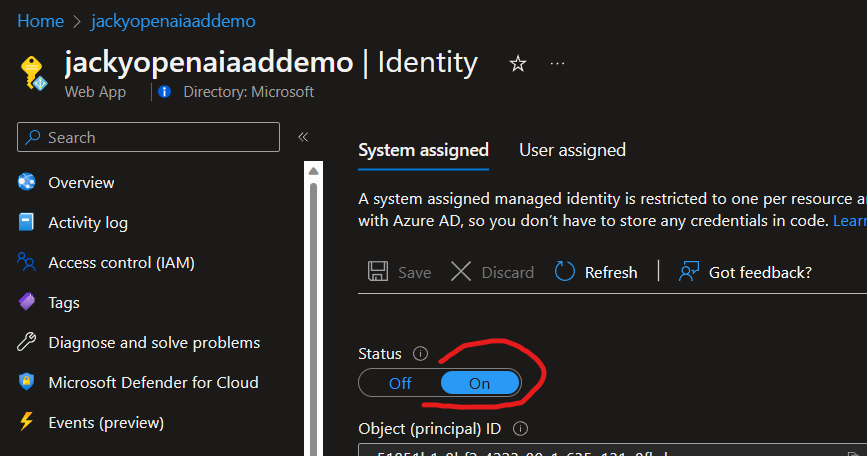
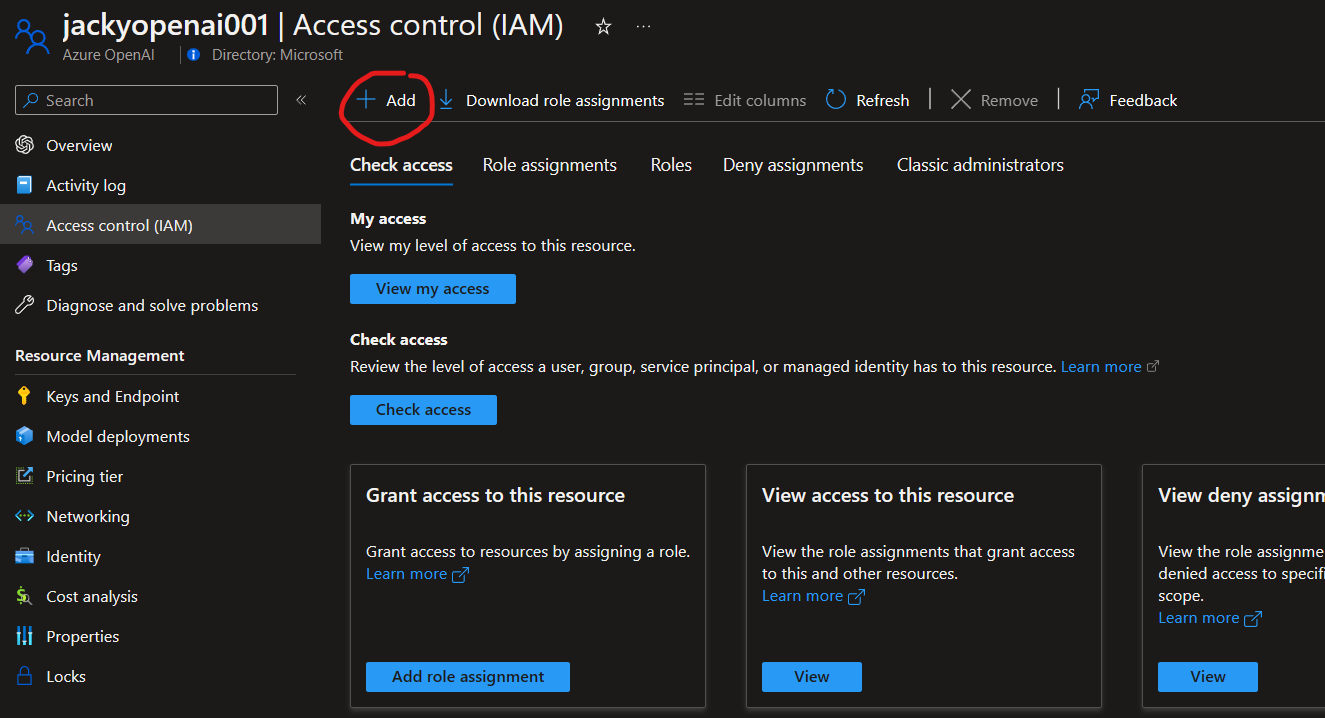
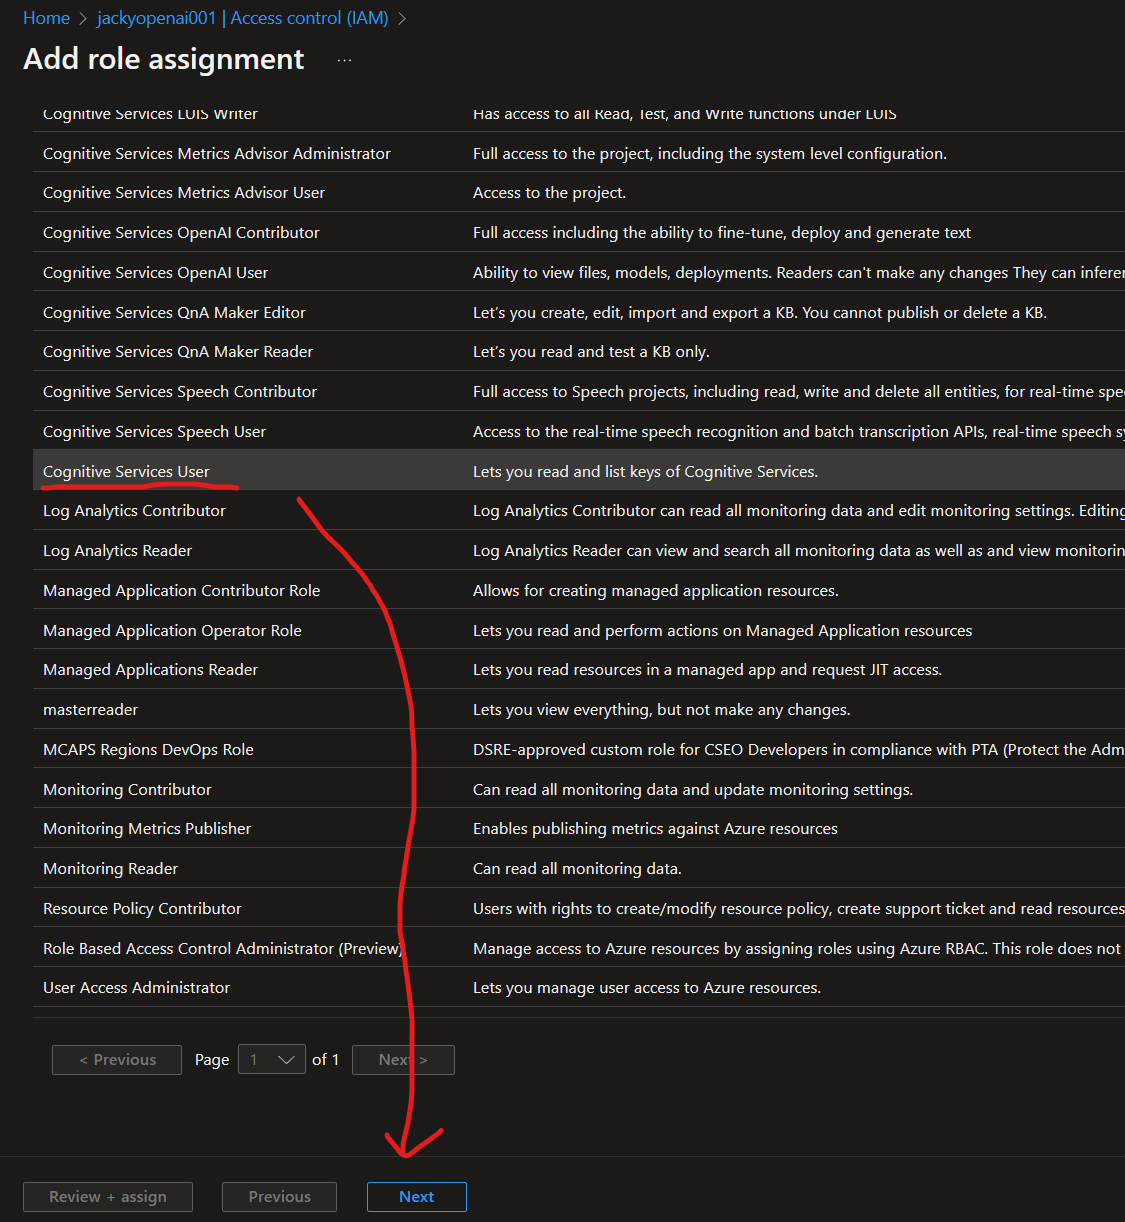
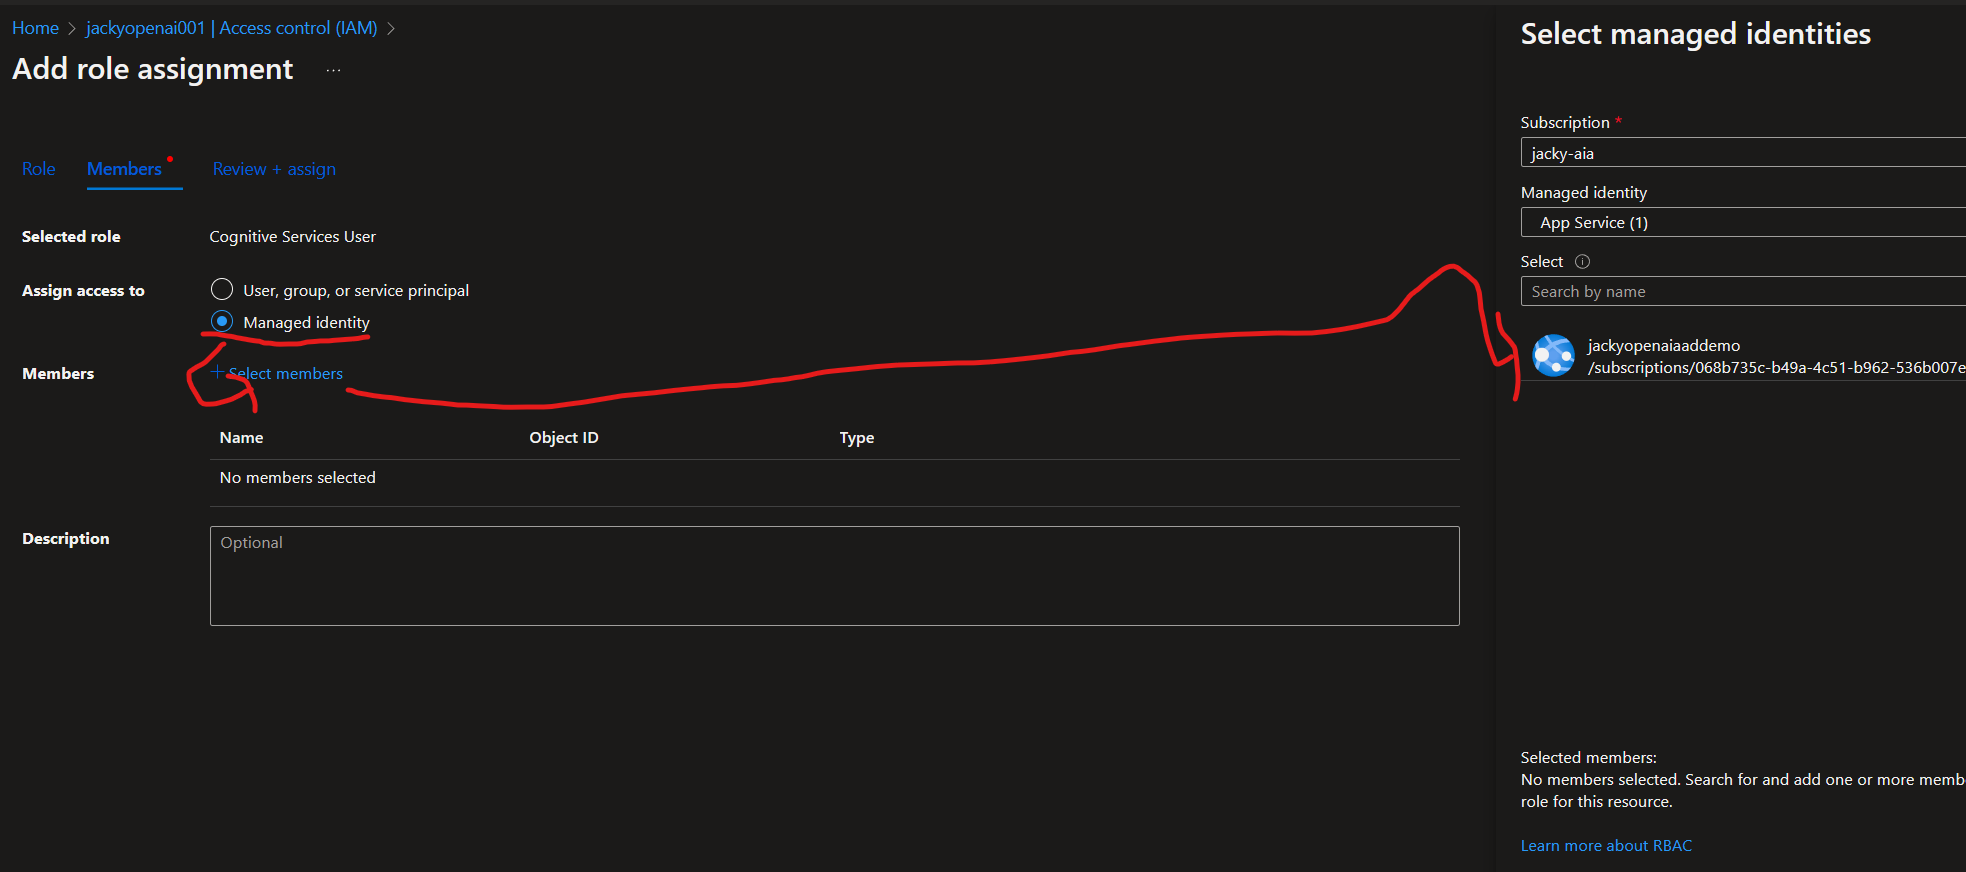
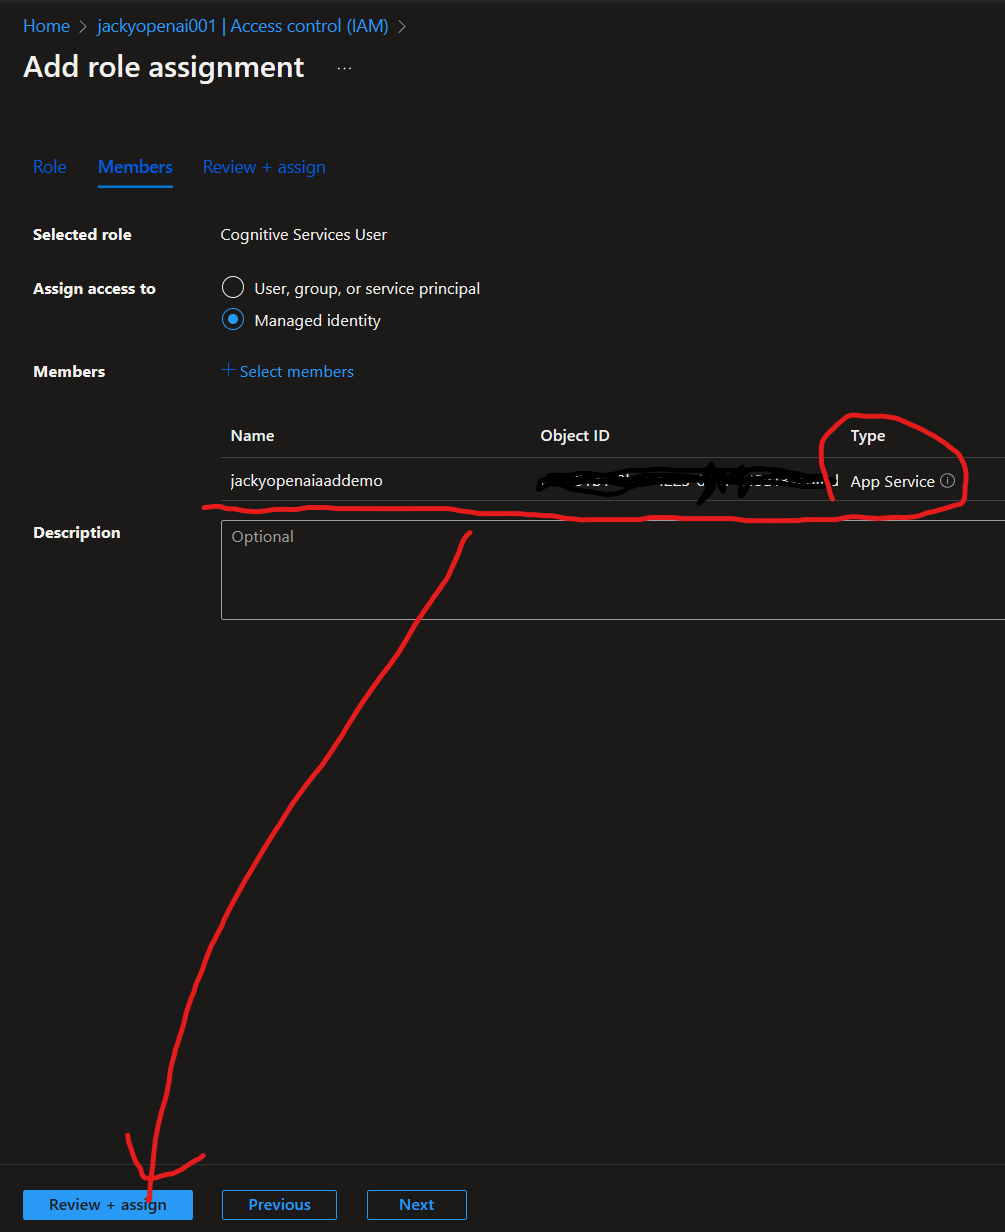
Step 2. 設定 Web App 的 Managed Identity 可以存取 特定的 Azure Open AI 服務
這裡特別注意是把 Web App 的 System assigned identity 加入 特定 Azure Open AI 服務的 Cognitive Services User 角色
Step 3. 程式碼中使用 Managed Identity 存取特定的 Azure Open AI 服務
我的範例程式如下:
1 | from azure.identity import DefaultAzureCredential |
參考資訊:
https://github.com/openai/openai-python#microsoft-azure-active-directory-authentication (特別感謝同事 Jimmy Liao 提供這個重要的資訊讓我可以快速完成.)
範例程式執行後的結果將 Azure Open AI 回覆的資訊顯示在網頁上.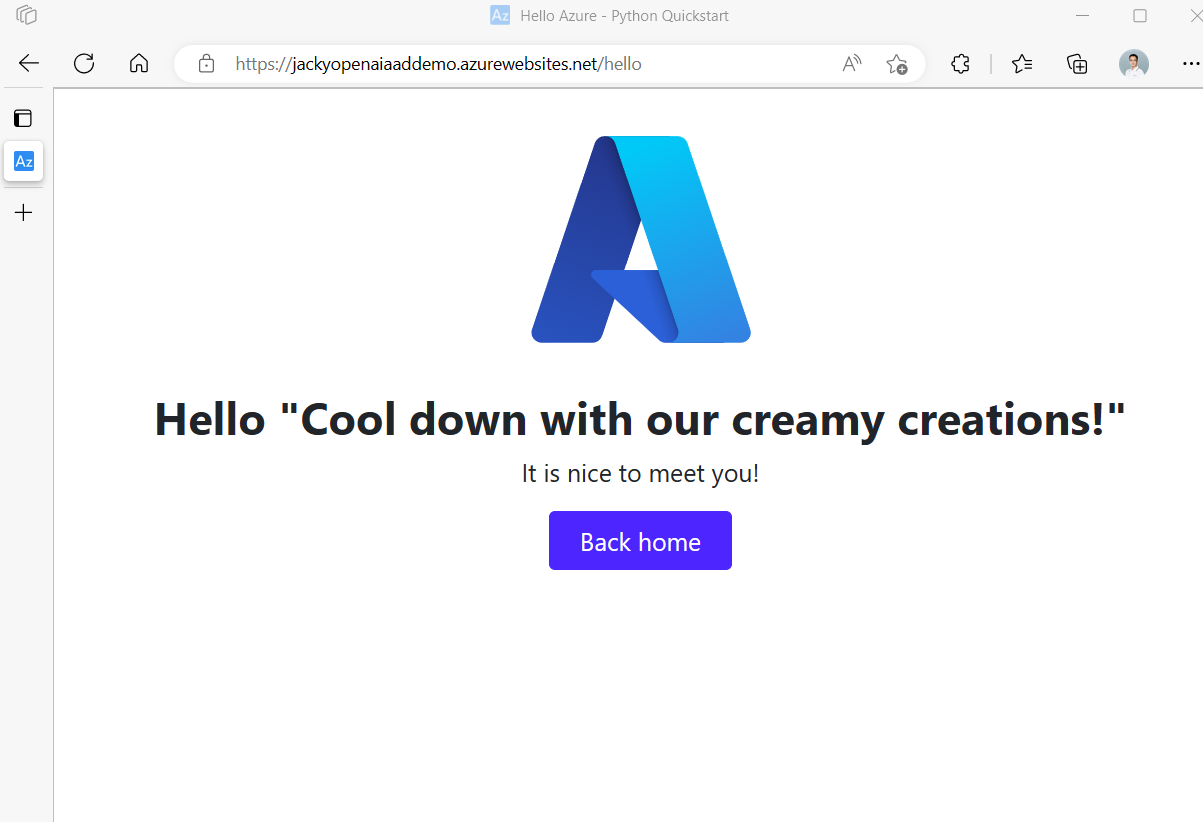
HTH. 20230305 By Jacky